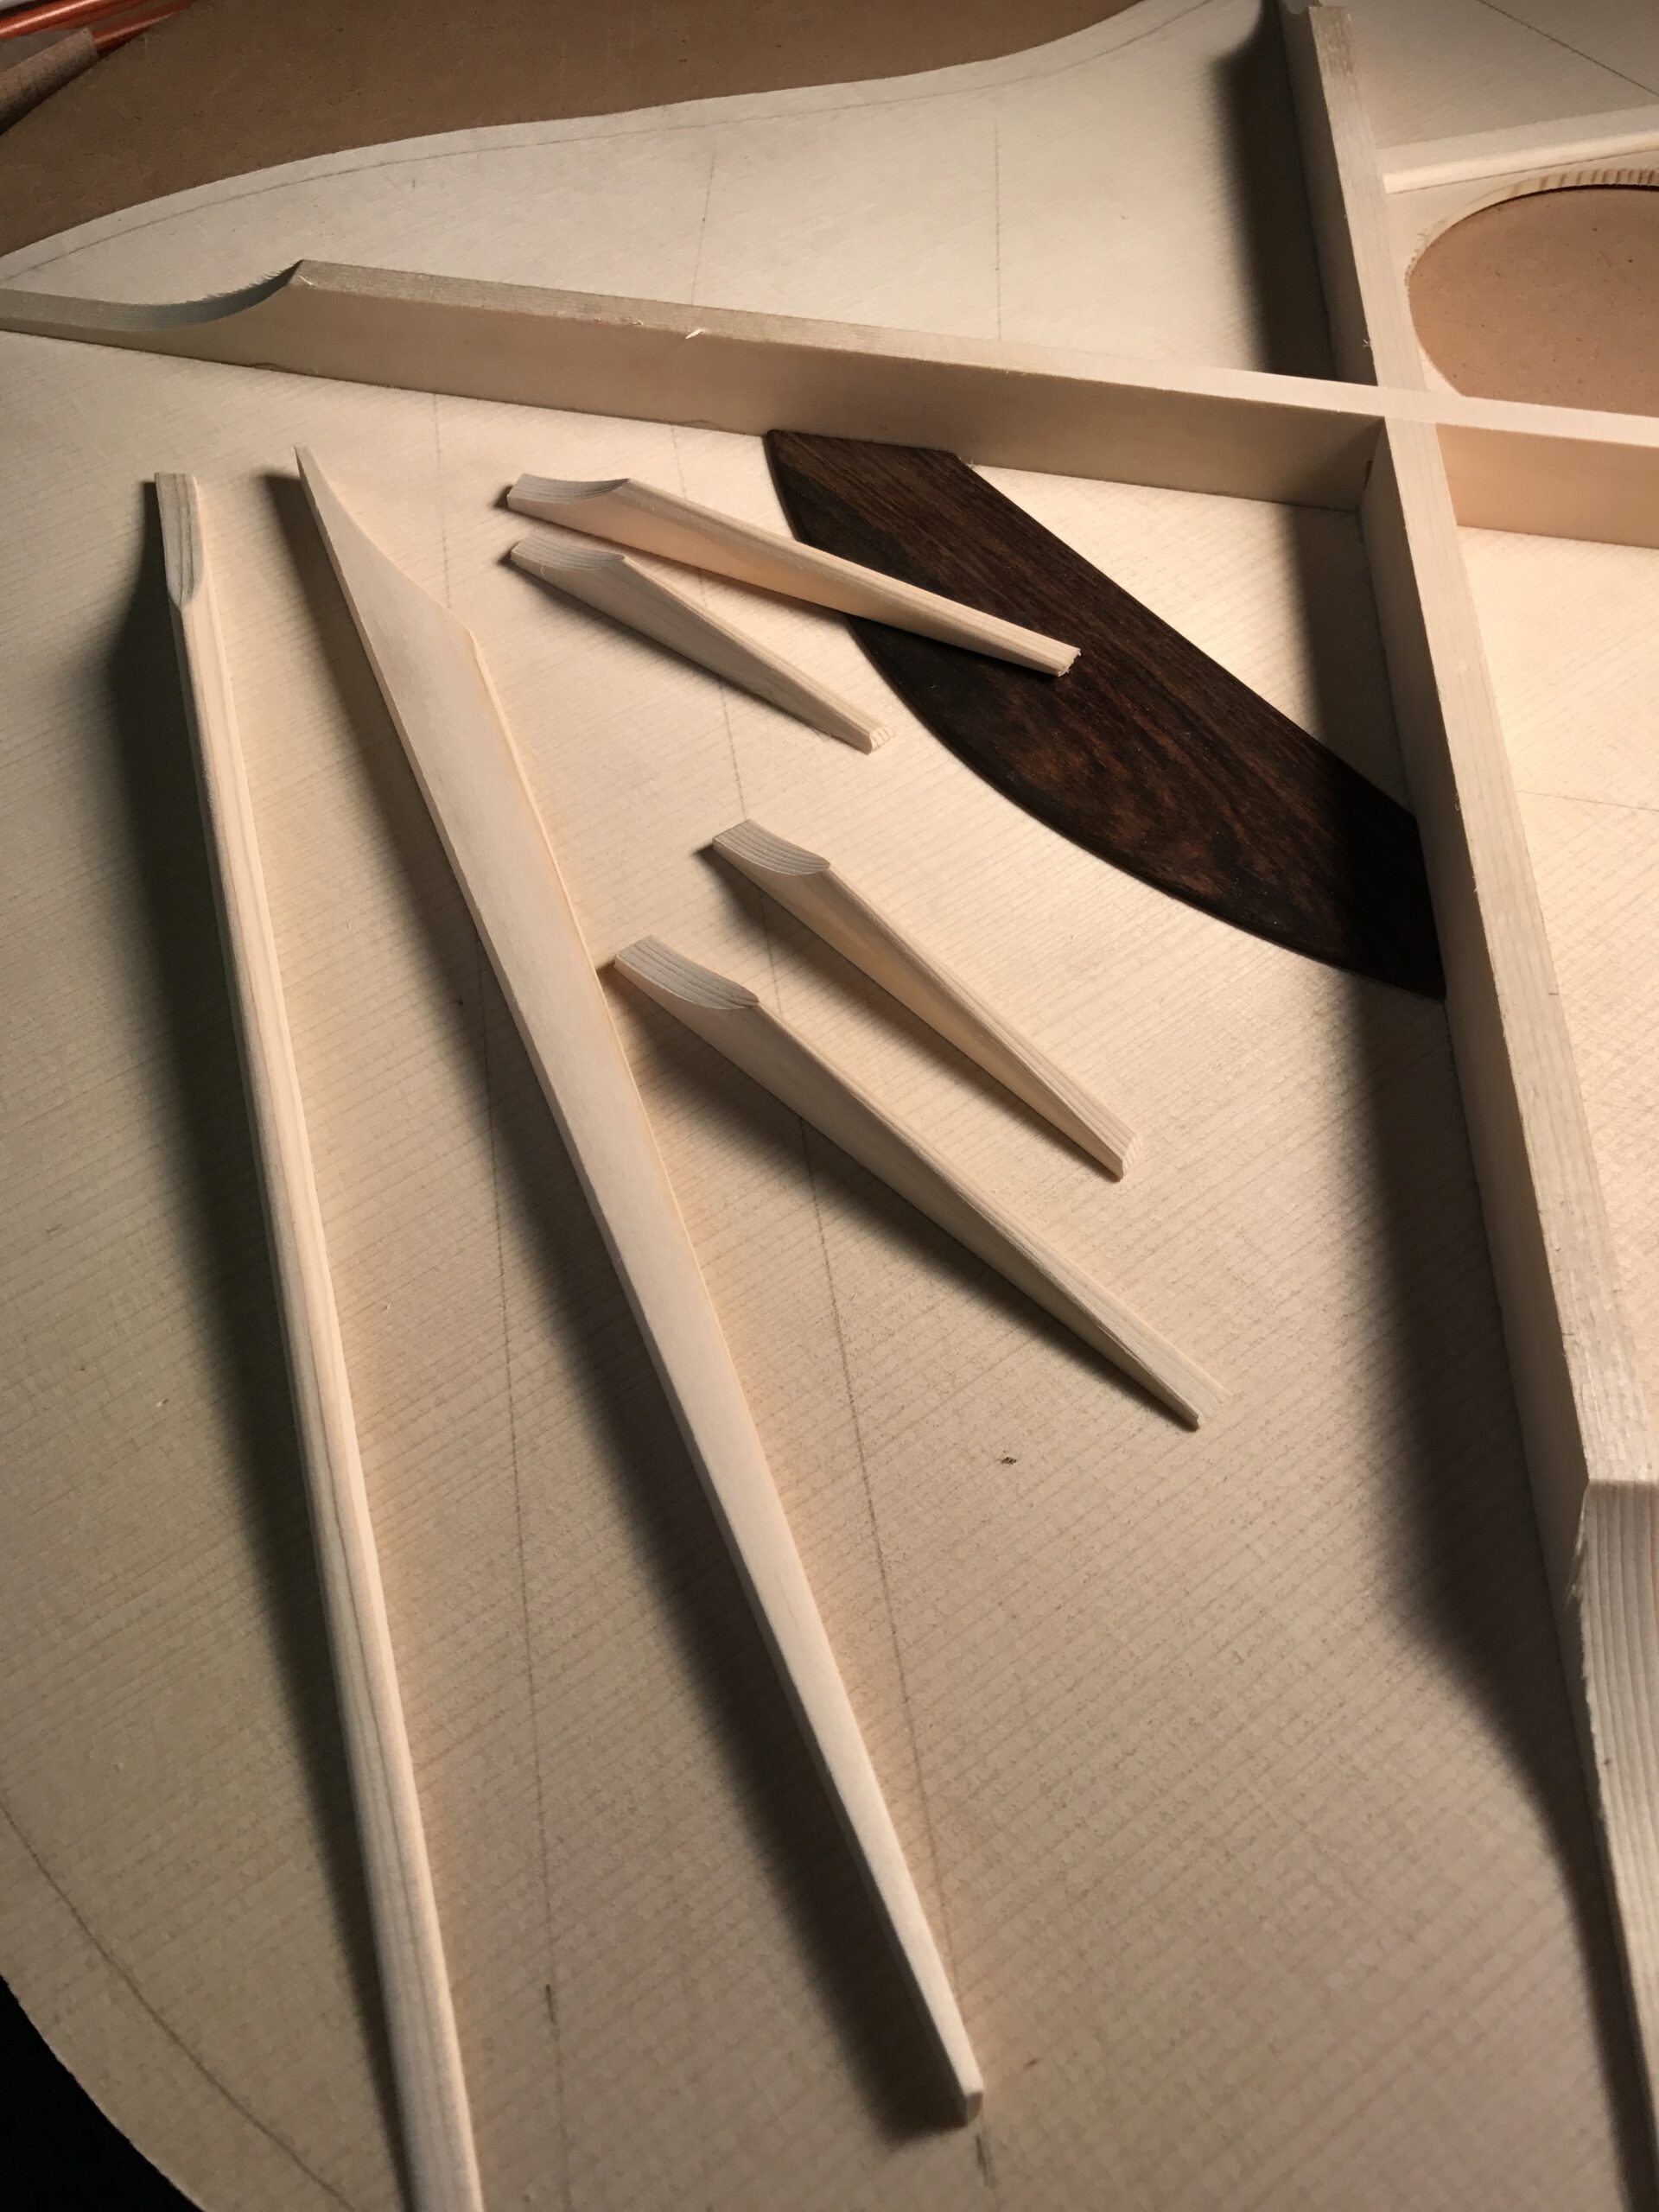
[vc_row][vc_column width=”1/2″][vc_single_image image=”3566″ img_size=”large”][/vc_column][vc_column width=”1/2″][vc_column_text]I finally got to work on my guitar again for a little bit. I completed the bracing of the soundboard so I thought I’d give you a peak[/vc_column_text][/vc_column][/vc_row][vc_row][vc_column width=”1/2″][vc_single_image image=”3567″ img_size=”large”][/vc_column][vc_column width=”1/2″][vc_column_text]I start out with small billets of Red Spruce that come from hand split quarter sawn rough billets.[/vc_column_text][/vc_column][/vc_row][vc_row][vc_column width=”1/2″][vc_single_image image=”3575″ img_size=”large”][/vc_column][vc_column width=”1/2″][vc_column_text]For my guitar, I’ve decided to go for the tightest possible grain and completely vertical grain. On many guitars, I actually use tighter grain wood on the treble side of the guitar and a little wider grain material on the bass side.[/vc_column_text][/vc_column][/vc_row][vc_row][vc_column width=”1/2″][vc_single_image image=”3576″ img_size=”large”][/vc_column][vc_column width=”1/2″][vc_column_text]Here I’m cutting the radius into the bottom of the brace, the gluing surface. This will give the top the overall dome shape I’m shooting for. In this case, it is a 25′ radius. In other guitars, I use a 28′ radius, 25′ radius, 15′ radius, and a 7′ radius. This has a big impact on the overall tone of the guitar.[/vc_column_text][/vc_column][/vc_row][vc_row][vc_column width=”1/2″][vc_single_image image=”3577″ img_size=”large”][/vc_column][vc_column width=”1/2″][vc_column_text]Its a bit hard to see, but you can see a slight curve on the edge of the brace.[/vc_column_text][/vc_column][/vc_row][vc_row][vc_column width=”1/2″][vc_single_image image=”3579″ img_size=”large”][/vc_column][vc_column width=”1/2″][vc_column_text]I’ve laid out the bracing pattern on the soundboard, and I’ve glued the bridge plate. I’m notching out the joint where the two X braces come together. This is a 100 Degree joint.[/vc_column_text][/vc_column][/vc_row][vc_row][vc_column width=”1/2″][vc_single_image image=”3580″ img_size=”large”][/vc_column][vc_column width=”1/2″][vc_column_text]Its a forward shifted X brace built in a fashion similar to the Pre War Martin guitars. These guitars are known for an openness and volume not found in guitars after the change in design. And I’ve chosen a Brazilian Rosewood bridge plate with a clean symmetrical curve. Again, just like with the braces, I’m opting for a guitar that has an clean, even tone across the spectrum and opposed to using asymmetry and varied grain in the braces.[/vc_column_text][/vc_column][/vc_row][vc_row][vc_column width=”1/2″][vc_single_image image=”3591″ img_size=”large”][/vc_column][vc_column width=”1/2″][vc_column_text]The Dreadnoughts I build are different from a traditional Dreadnought in the brace shape. The X braces are scalloped like a traditional guitar, but I shape my finger braces to reflect the bracing I used with my radial bracing systems. I rarely build a radial braced guitar any more, but I use several of the voicing tools that I learned from those systems.[/vc_column_text][/vc_column][/vc_row][vc_row][vc_column width=”1/2″][vc_single_image image=”3588″ img_size=”large”][/vc_column][vc_column width=”1/2″][vc_column_text]In the years past, I used to carve on shaving at a time, then I would listen to the tap of the soundboard. I’ve got it pretty dialed in over the years so I now I take a health bit off from the beginning and then fine tune when I’m near the end.[/vc_column_text][/vc_column][/vc_row][vc_row][vc_column width=”1/2″][vc_single_image image=”3590″ img_size=”large”][/vc_column][vc_column width=”1/2″][vc_column_text]This may be one of the prettiest soundboards I’ve braced. Its beautifully white and creamy in color, and even, and clean, so clean. More to come. Keep your eyes out for the next steps.[/vc_column_text][/vc_column][/vc_row]

Joyous Moments: The Pat Martino Effect


