Brazilian Rosewood Back!

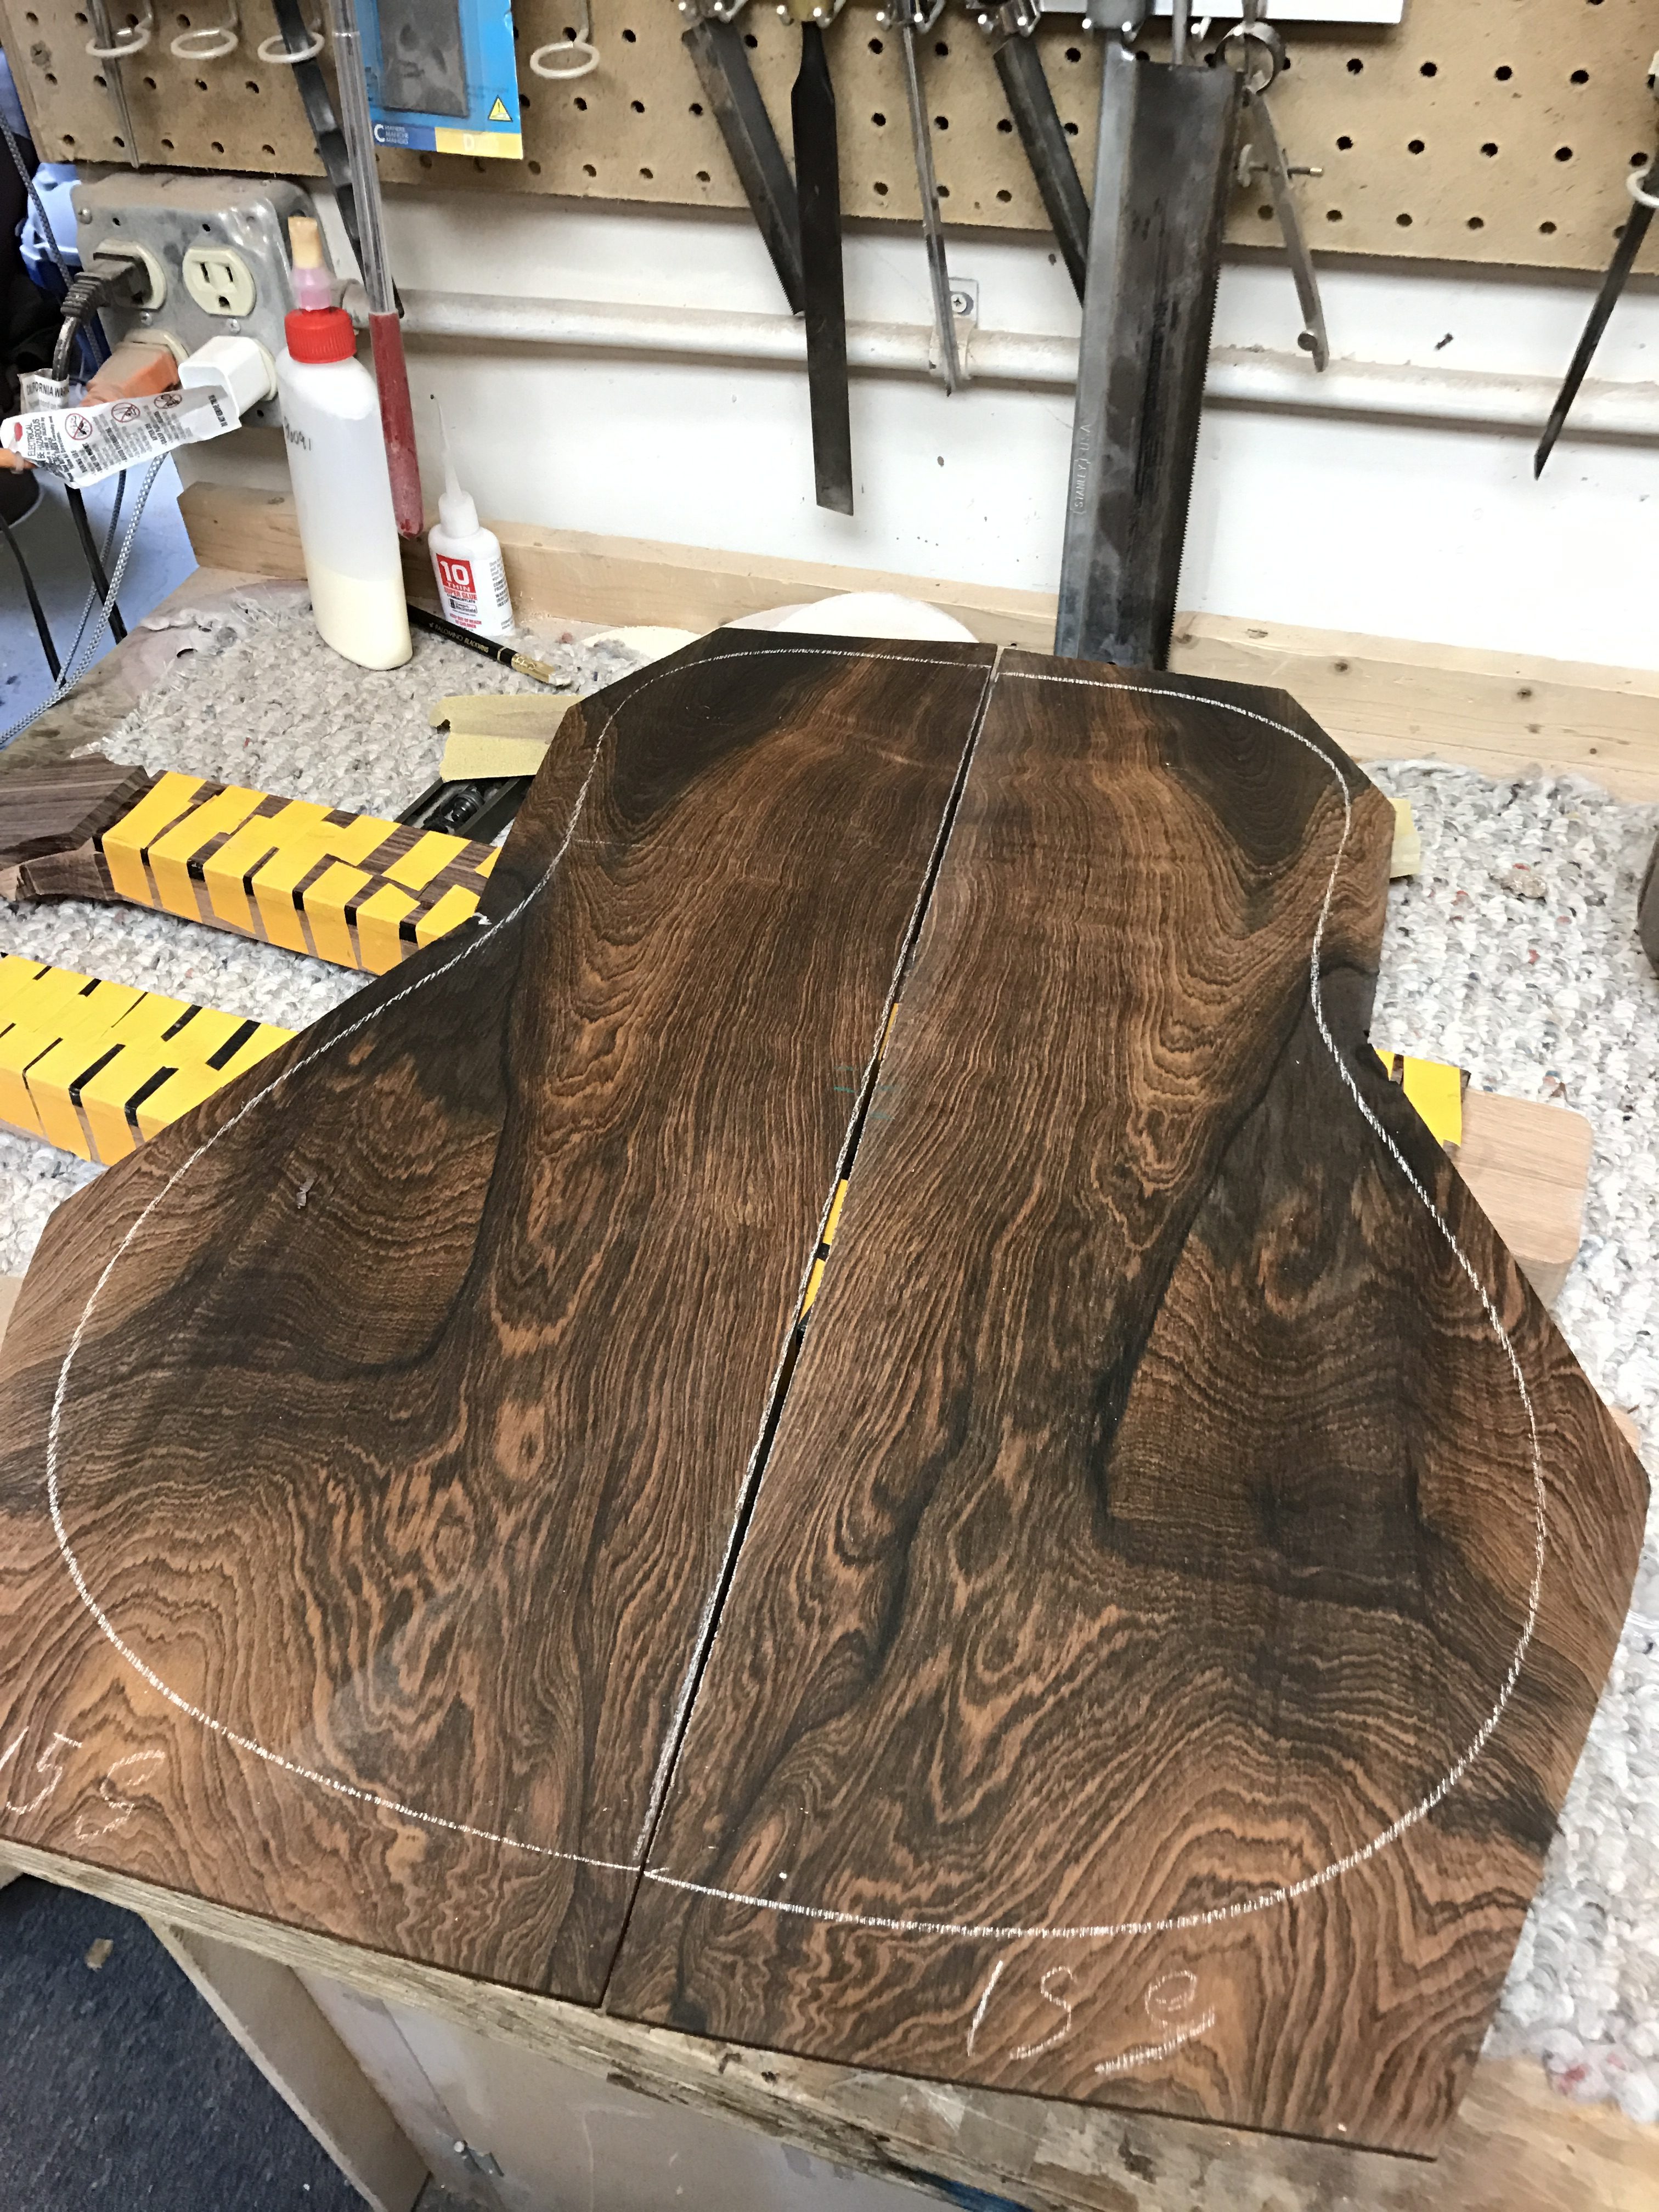
Well we had a lot of fun and a huge response to the email a few months ago! We had an overwhelming response in favor of this set of Brazilian Rosewood for my guitar! It is simply gorgeous. No doubt about it.

The very first step is to determine the book match of the sides, choose your interior and exterior and then Joint the wood so it is ready to be glued. This is the Jointer in my shop

Here I’ve just laid the wood on the Spanish Luthiers Clamp.

The Spanish Luthiers Clamp is a clever way to join a glue joint using rope and wedges. Here I’ve wrapped the rope around the set up.

Then I add the wedges to create two forces. The first force pulls the two sides together and the second force pushed the wood downward so it remains flat while glueing.

Here is the glued up back, ready for thicknessing and bracing.

Just where I like it!

Now I use my Dreadnought template to layout the brace pattern on the back

the first thing to do is to support the glue seem down the center of the back. This is done with a long strip of cross cut Spruce.

After the center seam has its support, I will notch out the place for the back brace so it can be glued in place.

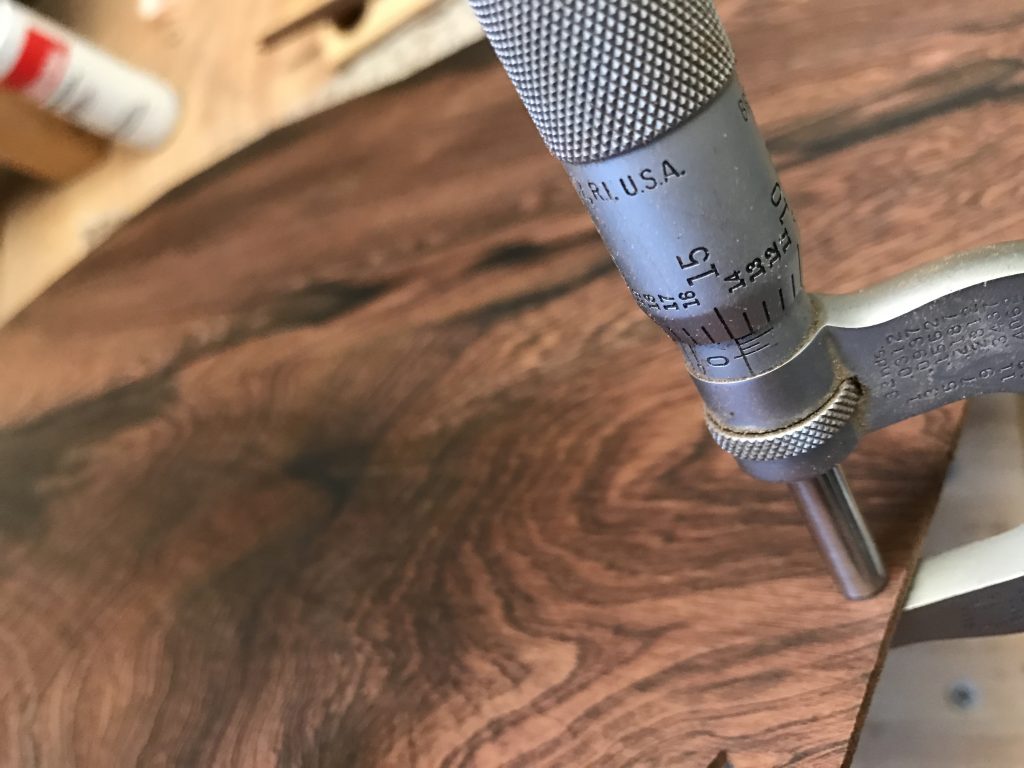
Here is a nice close up of fitting the brace. I’m not sure its necessary for this narrative but look at the contrasting wood colors and grain. This is beautiful!

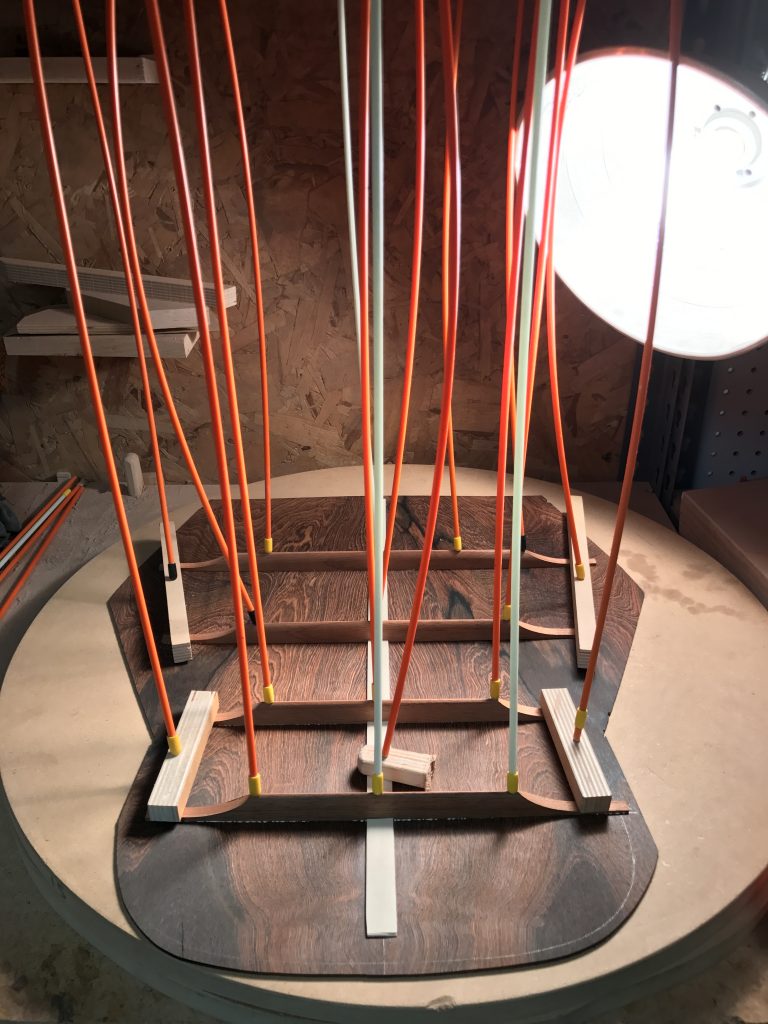
I glue all of the back braces in at the same time using my GoBar deck. This is another clever clamping too that uses the tension created from bent fiberglass rods.

And there you have it! All braced up and ready to fit to the rim of the guitar.
I don’t get too much time to work on this instrument, but I will continue to do my best to get some photos out to you as it moves along.
Thanks so much, Andrew


